EZStation is a CMS for Uniview products to allow the user to allow viewing and configuring.
Please Note
You must have a cloud account created and your device added beforehand
Step 1. Install and Run EZStation
Download the EZStation Program here
Upon initial bootup, you may get prompted to create a login. This is for the EZStation Program exclusively. Typically we'll recommend setting the same login as your NVR.
Once Running, You should get a Main Screen: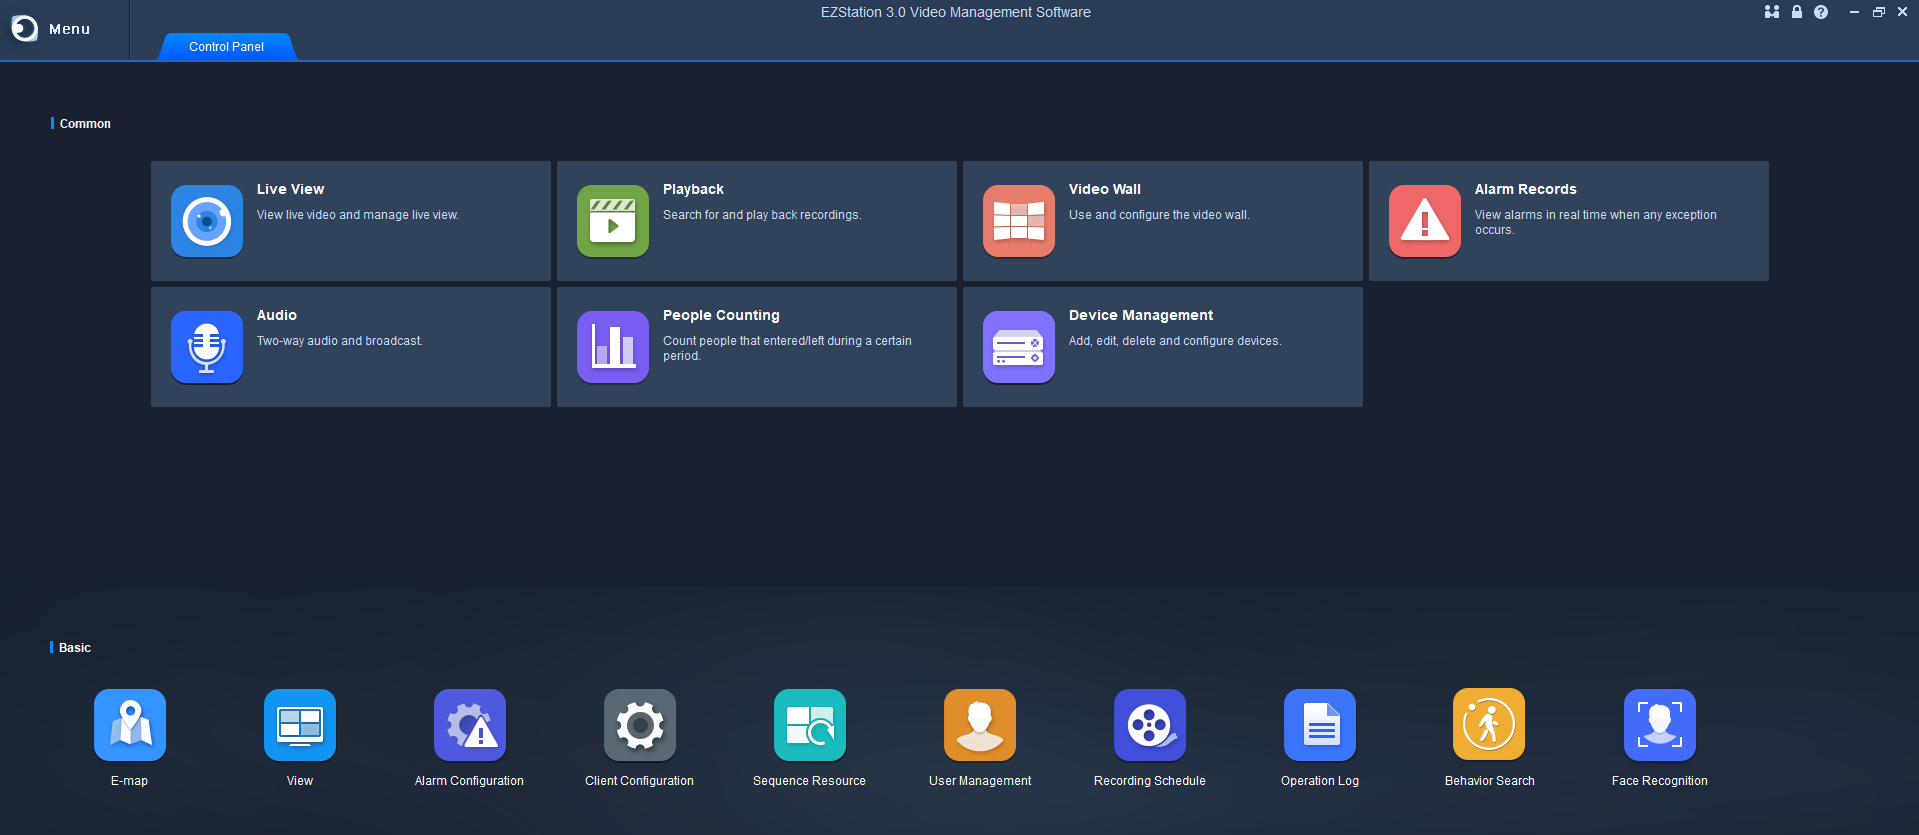
Step 2. Log Into Your Cloud Account
First, Go into the Device Management section.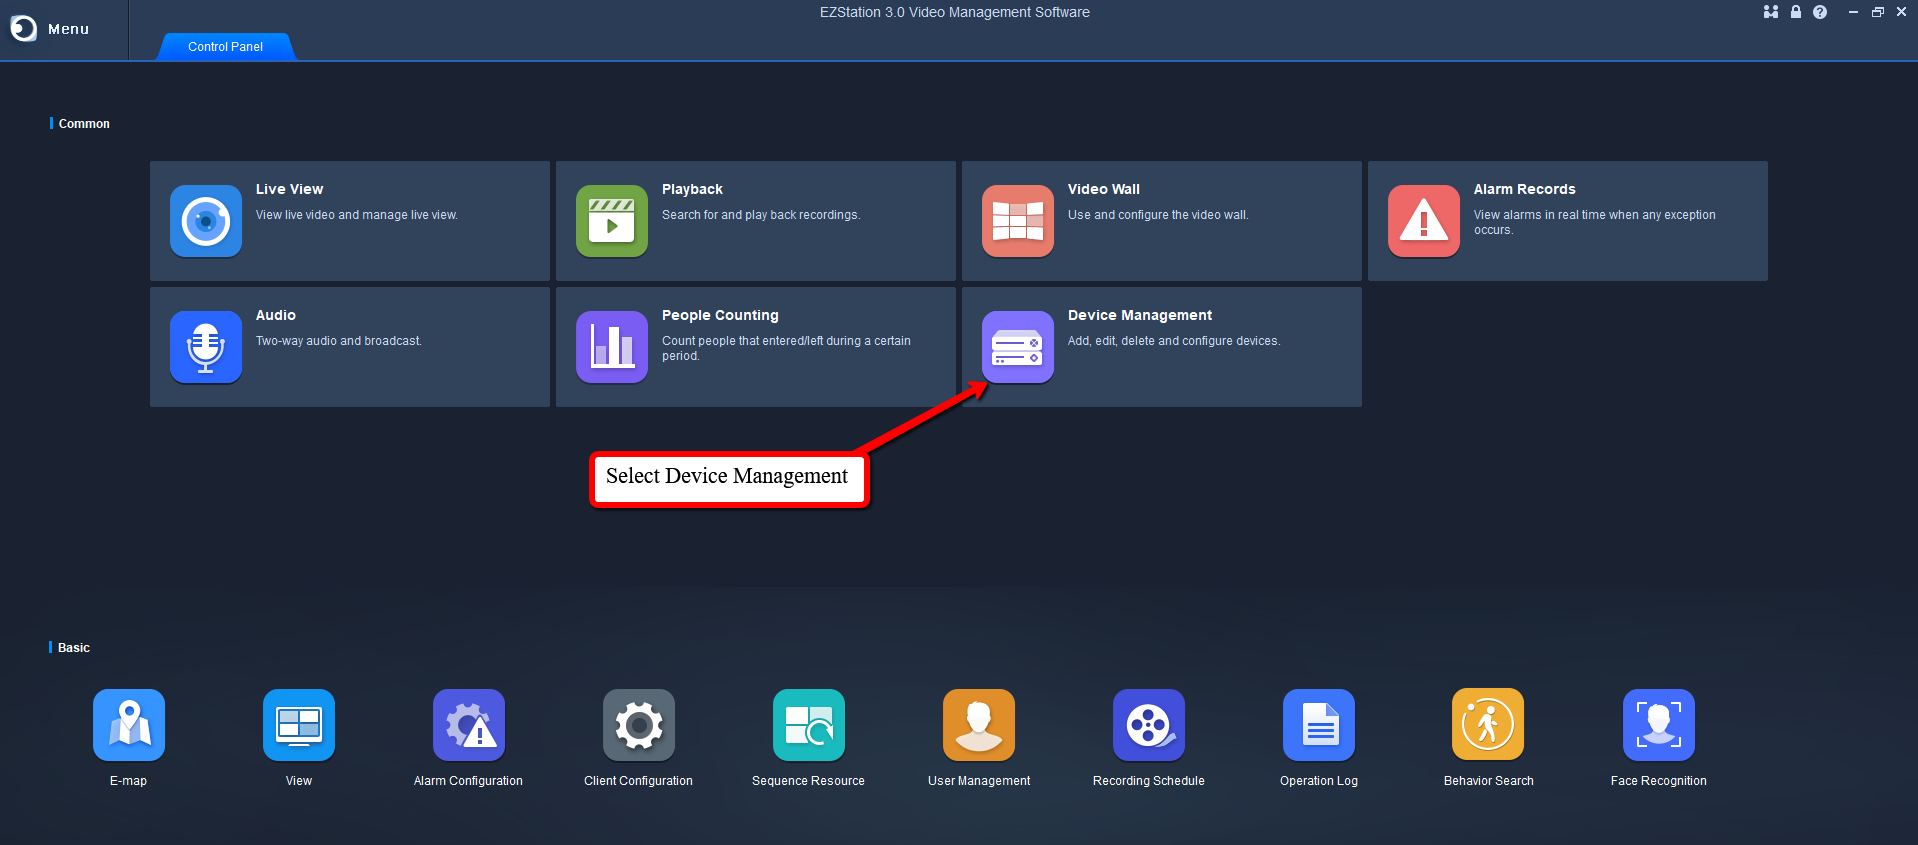
Next, Select Cloud Device on the left side, then Login.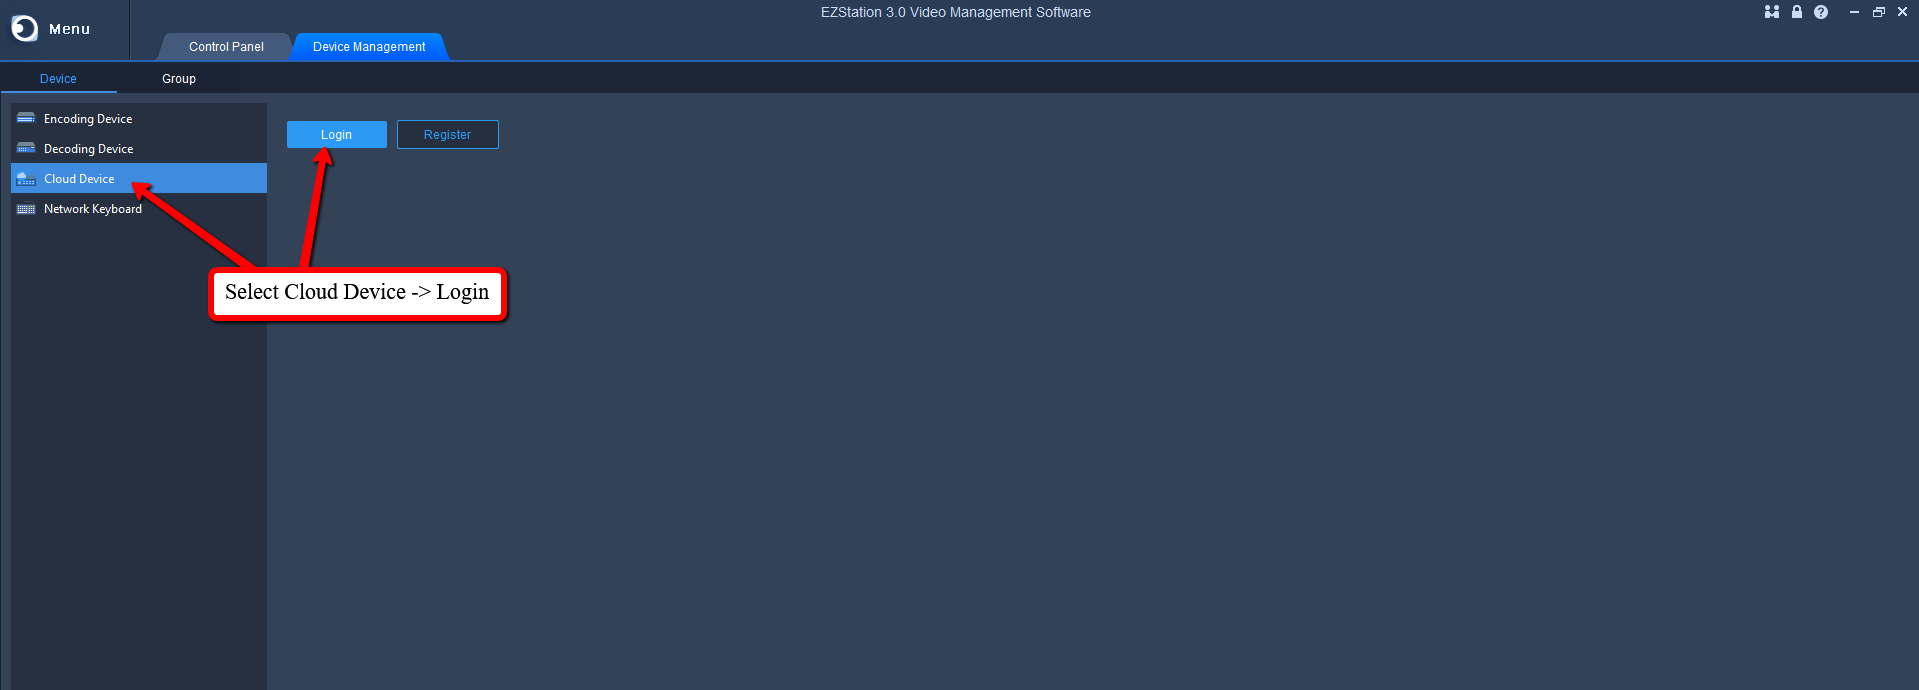
A popup box will appear to input your cloud login info. Once entered, Click Login
A Load screen will appear, then you should be logged in.
Now your linked devices will be listed under My Cloud Device 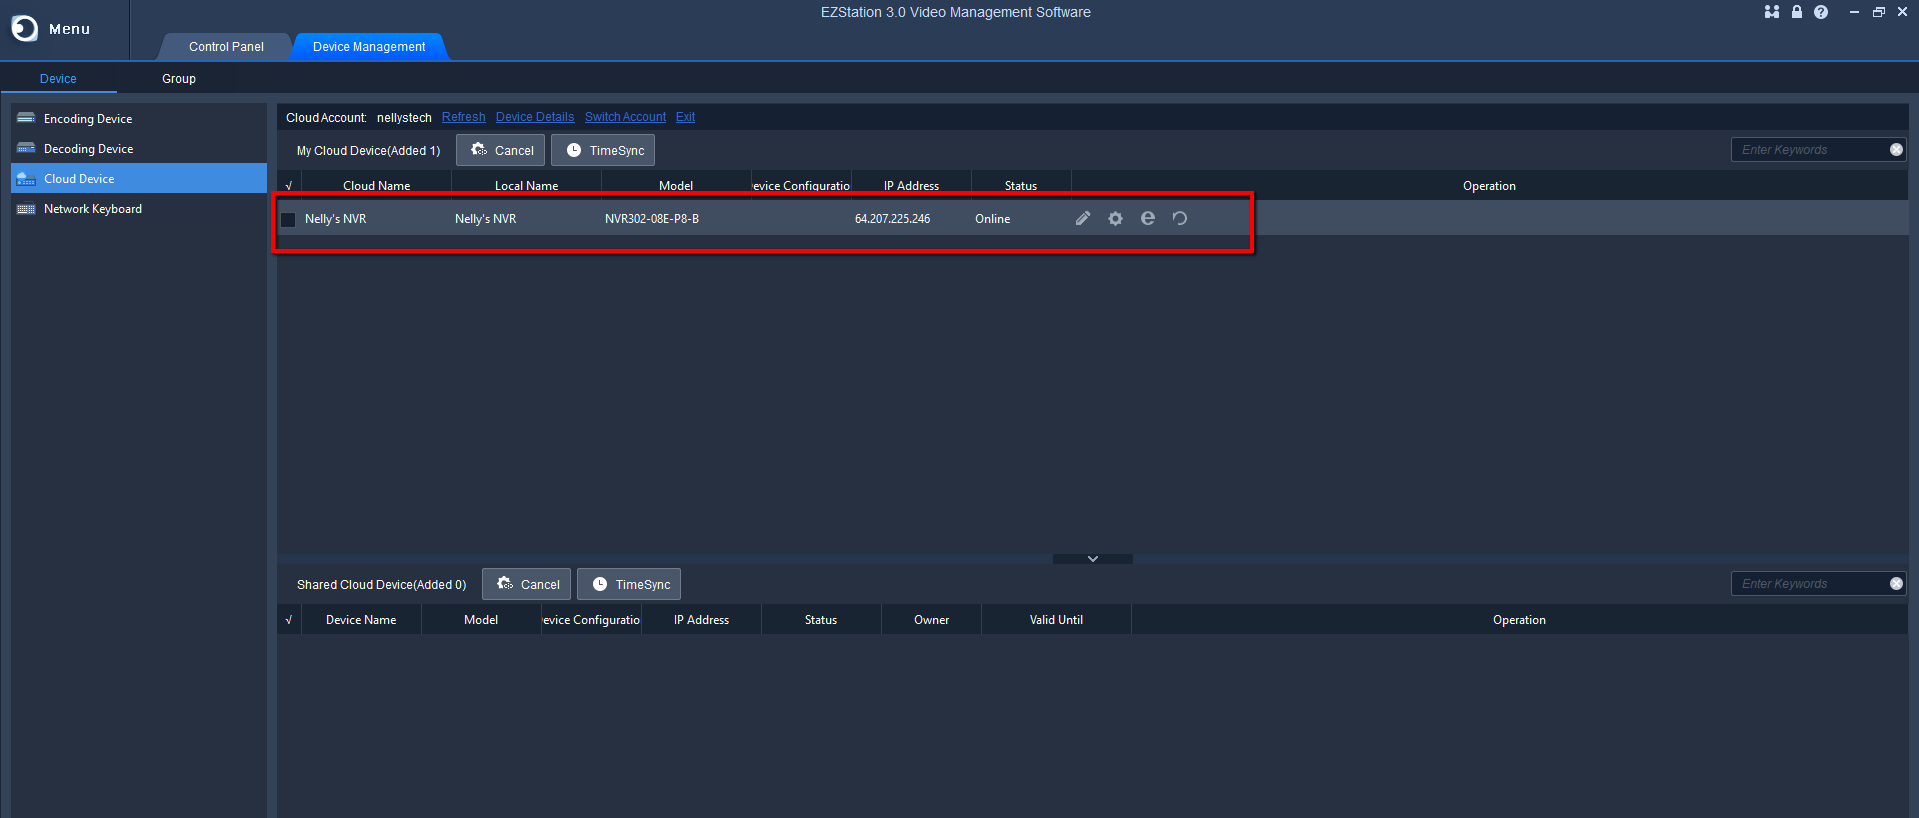
Step 3. Viewing Your Device
Now that we are logged in, we should be able to view whatever devices are on the linked account
First, go back to the Control Panel Tab, Then select the Live View Section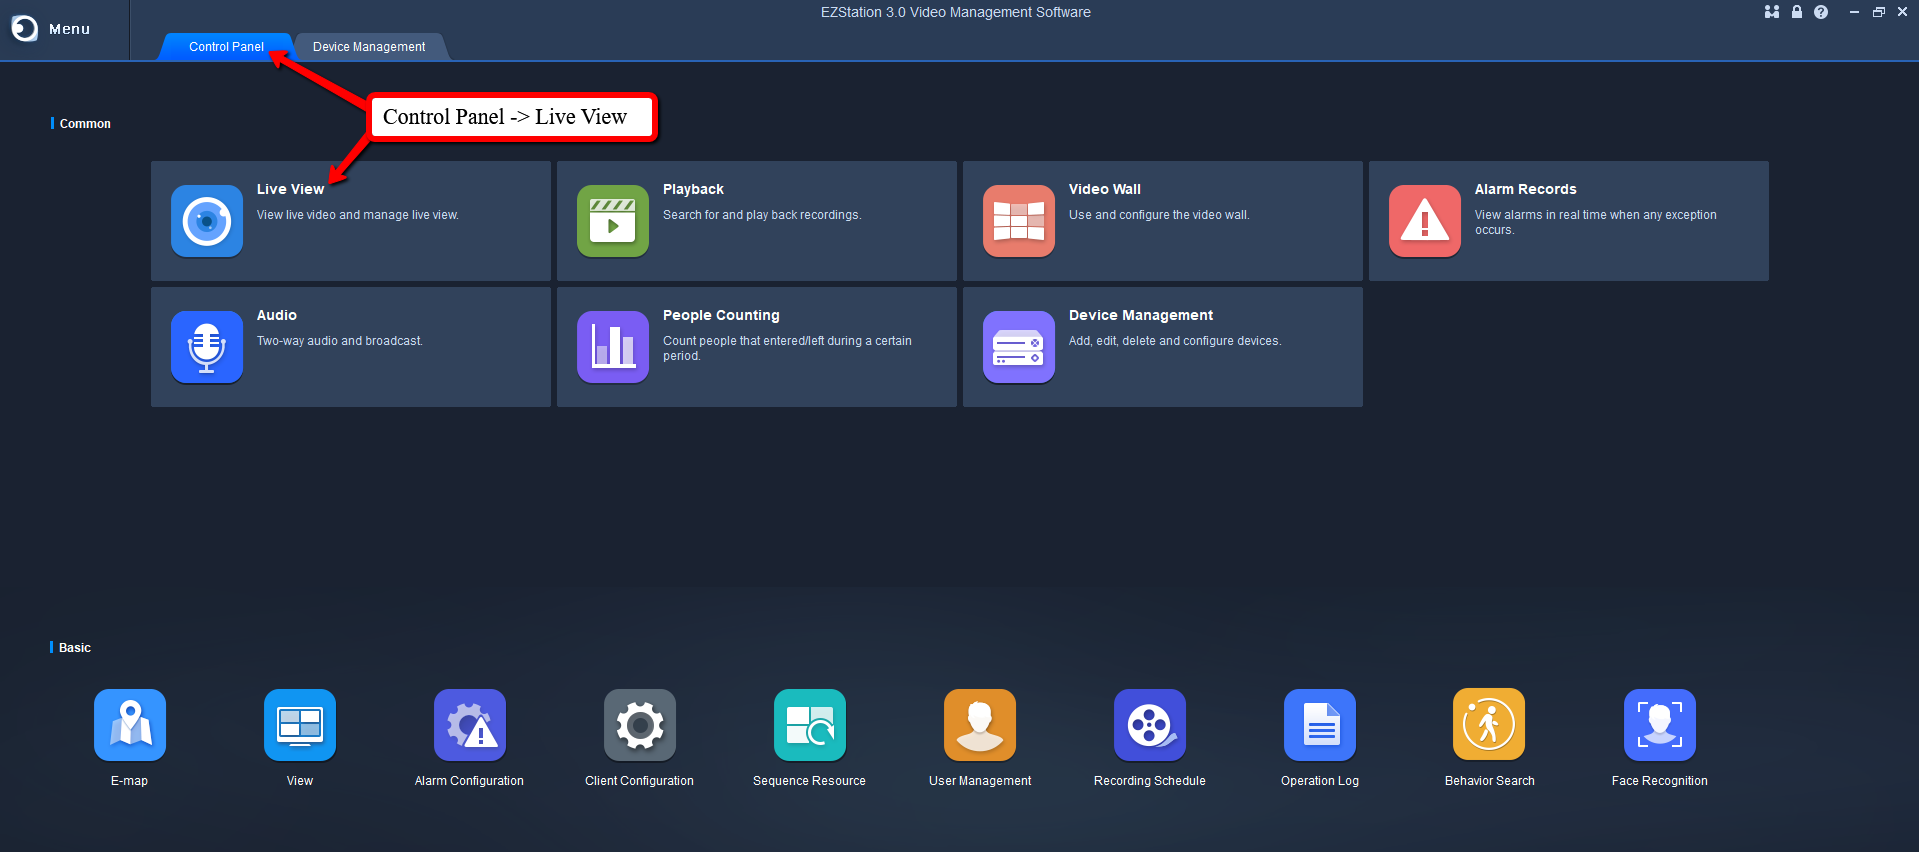
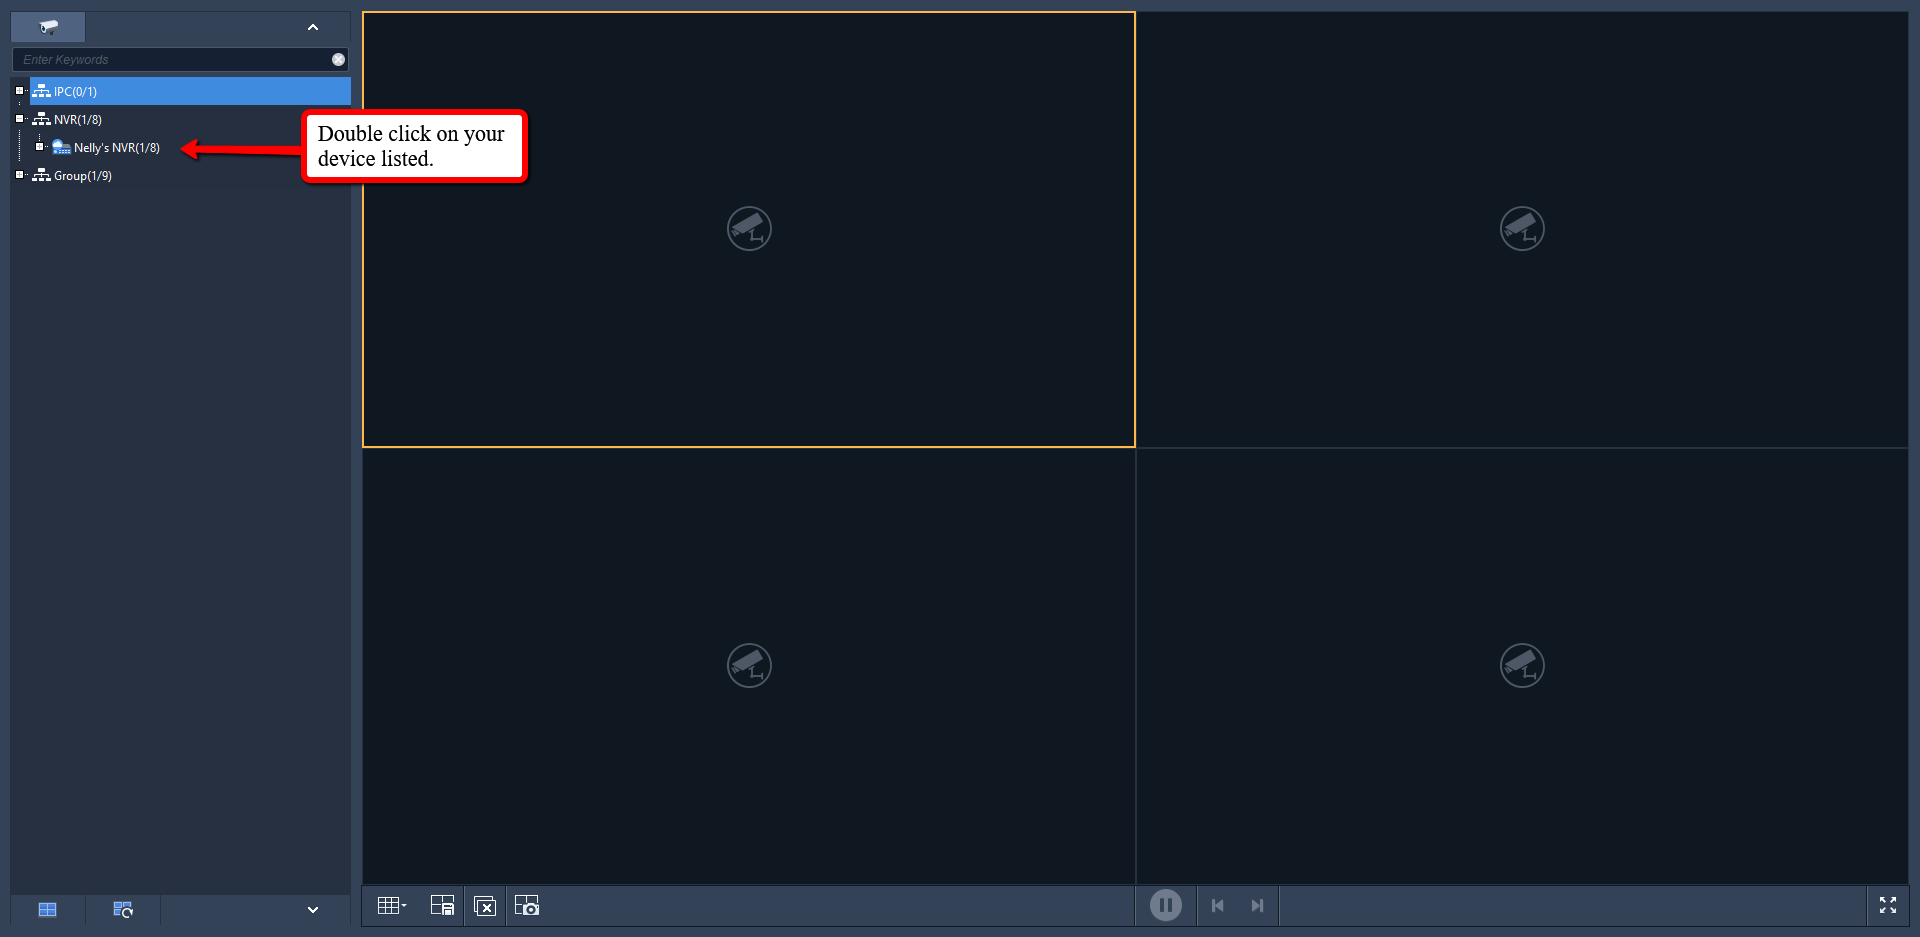
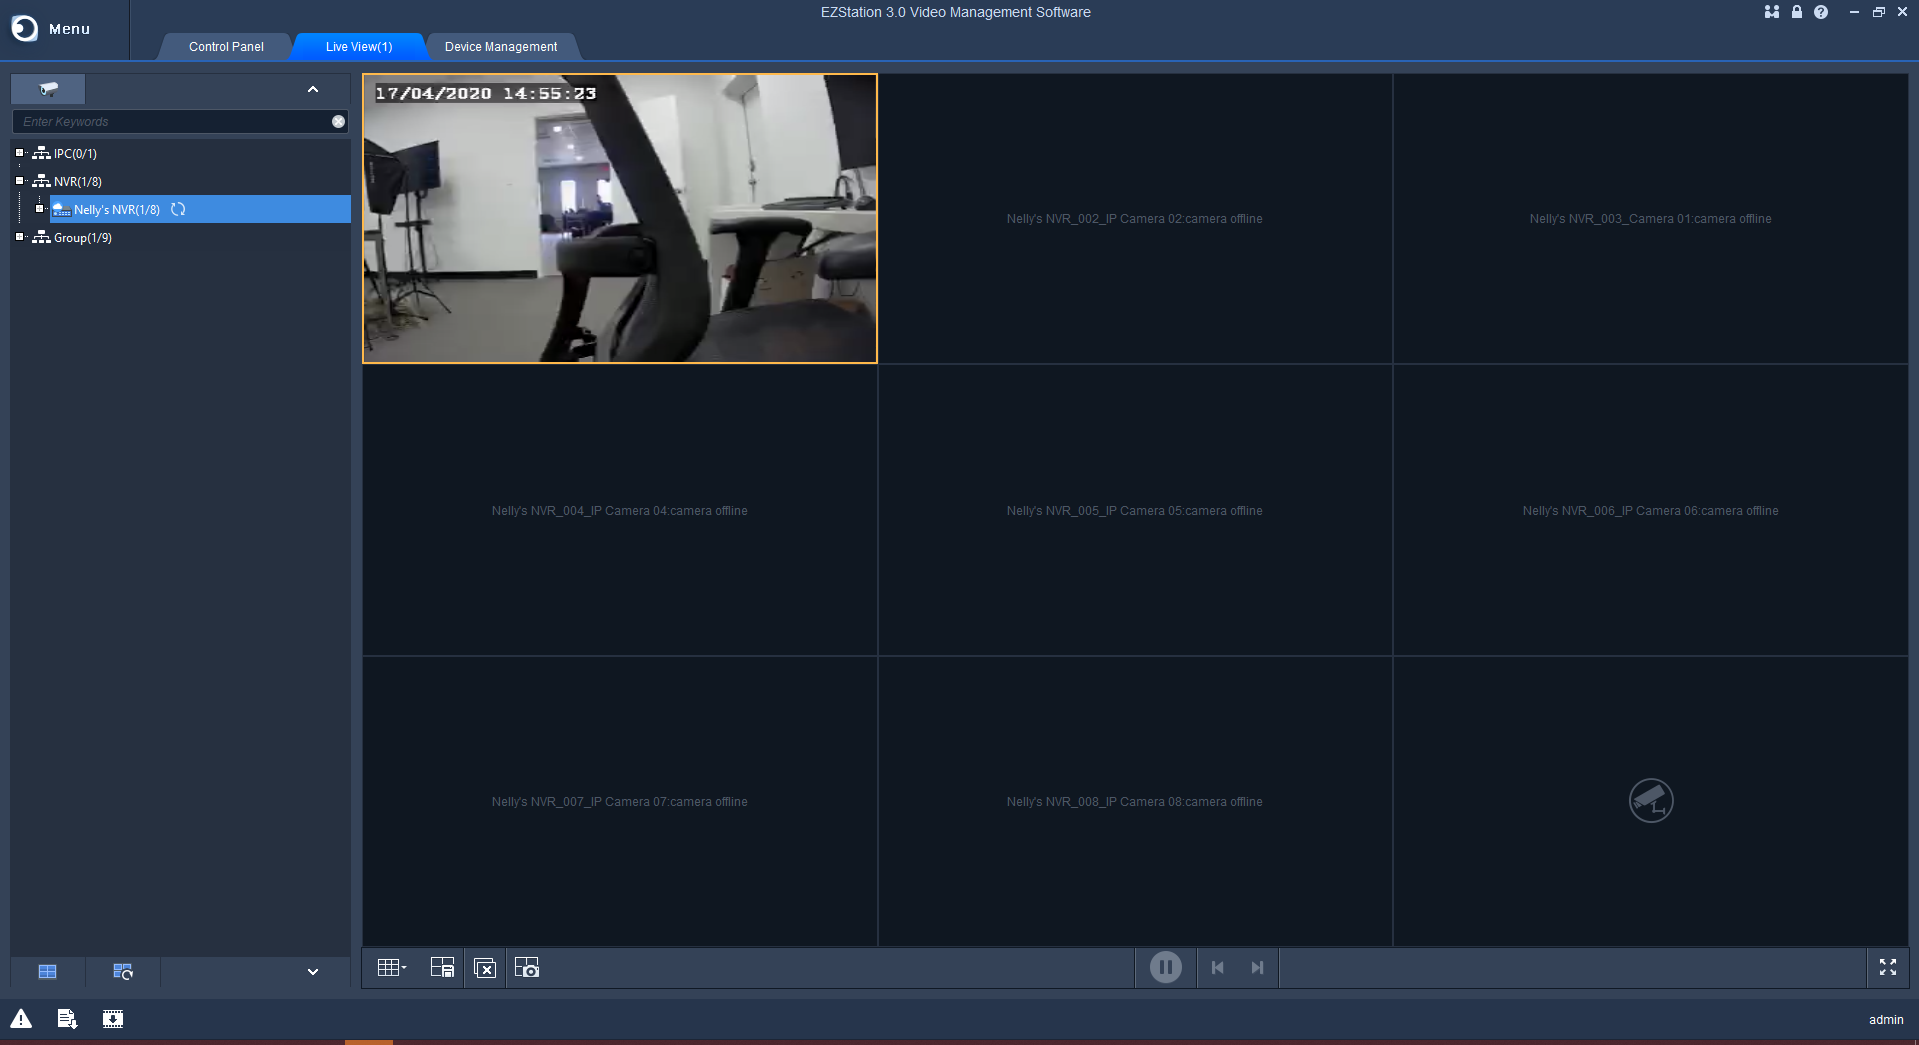
From here, Double click on your device on the left side and any cameras linked will appear